|
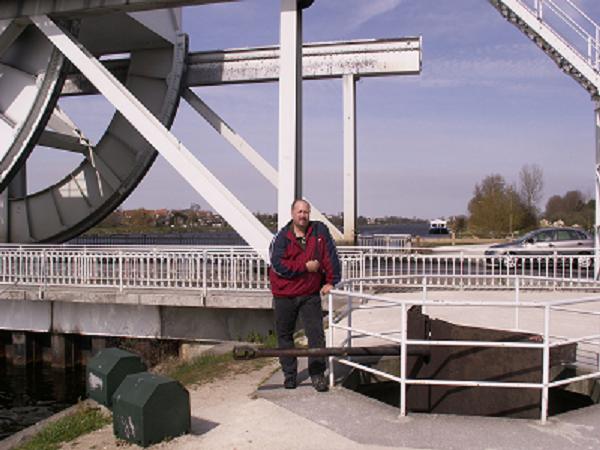
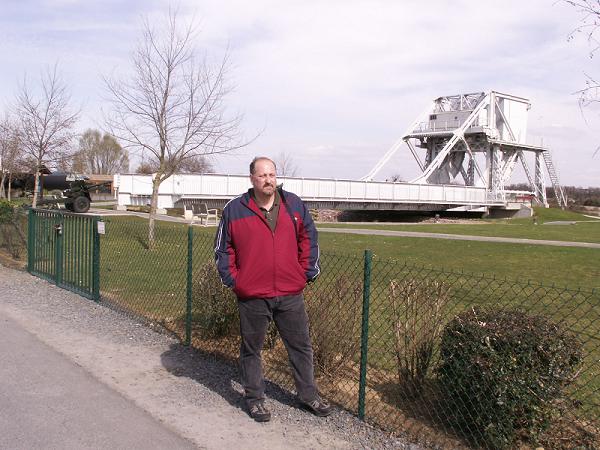
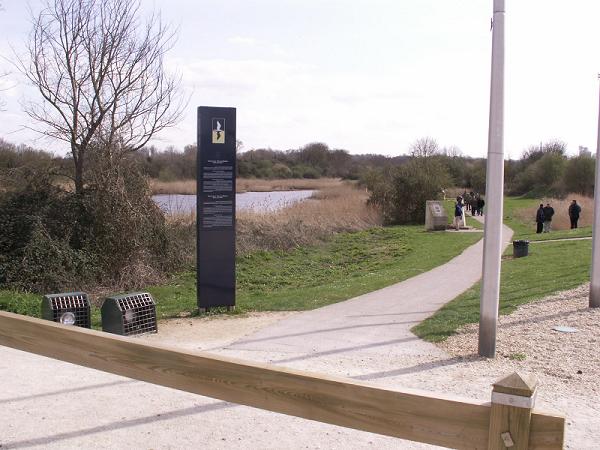
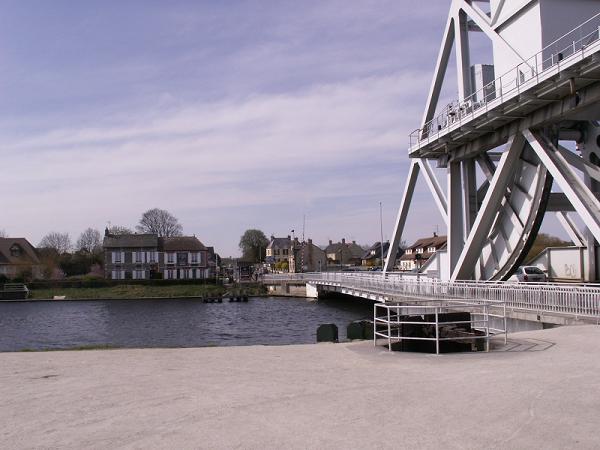
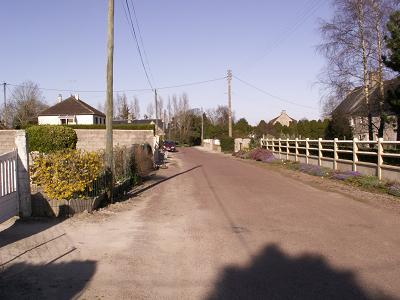
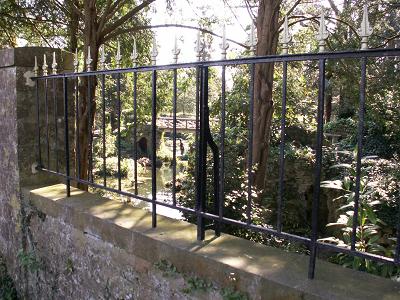
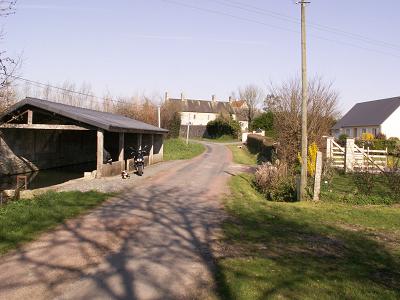
| The original bridge is in the background. |
|
|
| This is where the British gliders landed. |
|
|
We then left Pegasus Bridge and drove to Beyeaux to meet Paul Woodage of Battlebus Tours.
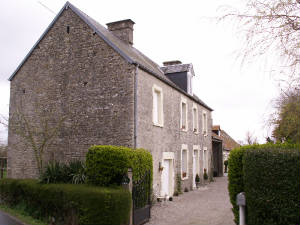
Since we left Paris a day early we did not not have accomidations arranged for that night. Paul's wife Myriam, made a call
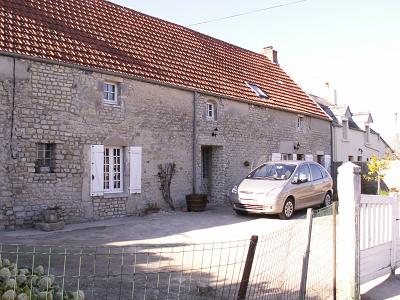
to Steve and Sarah who run the Bed and Breakfast "Ivy House". It is a very nice larger Norman home that has been restored
into excellent shape. The location is excellent for touring the battlefields and beaches as it is situated at Utah Beach.
We highly recommend staying with Steve and Sarah and a link will be provided to their site on my links page.
| Steve and Sarah's "Ivy House" |
|
|
| This is an excellent place to stay! |
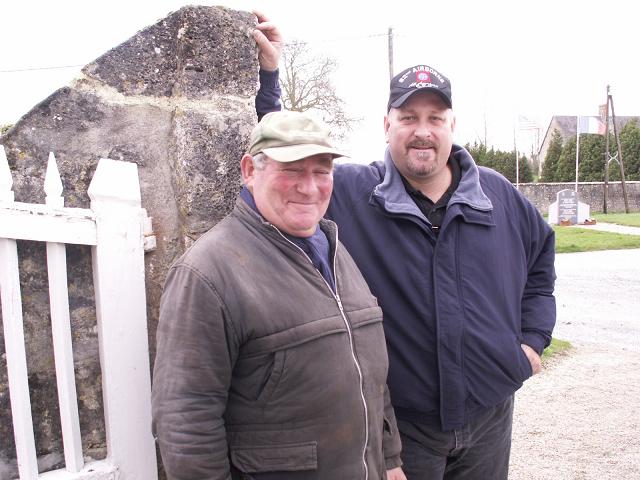
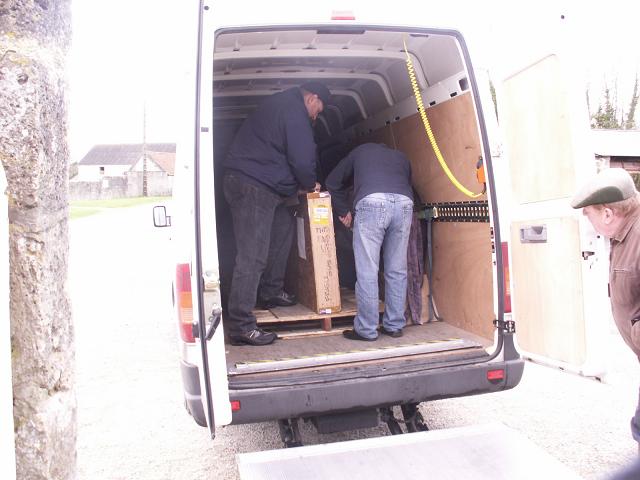
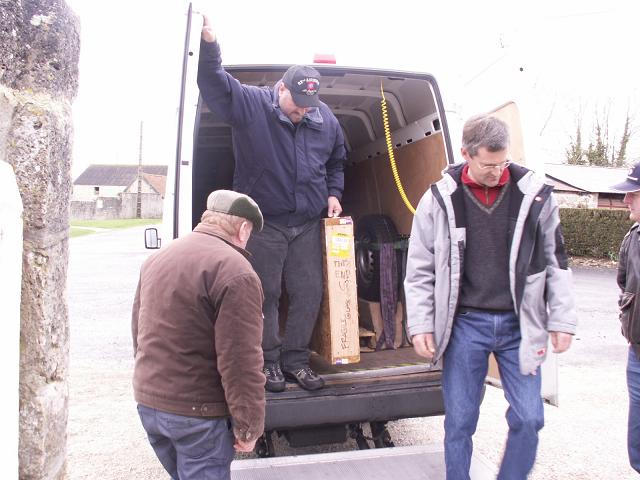
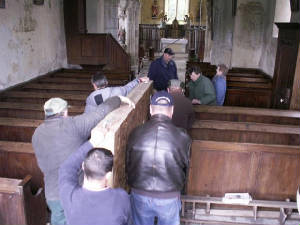
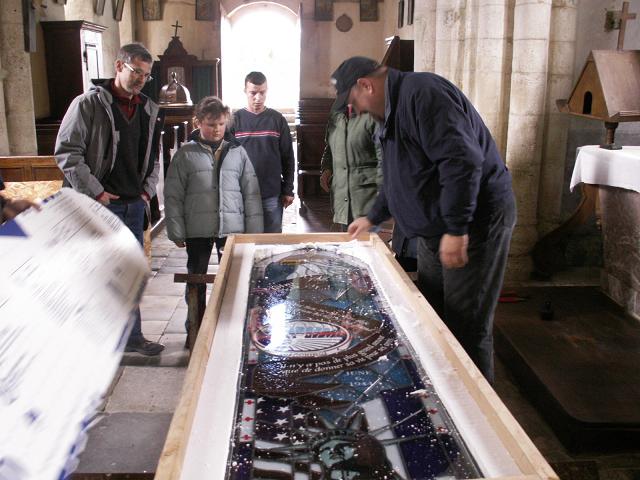
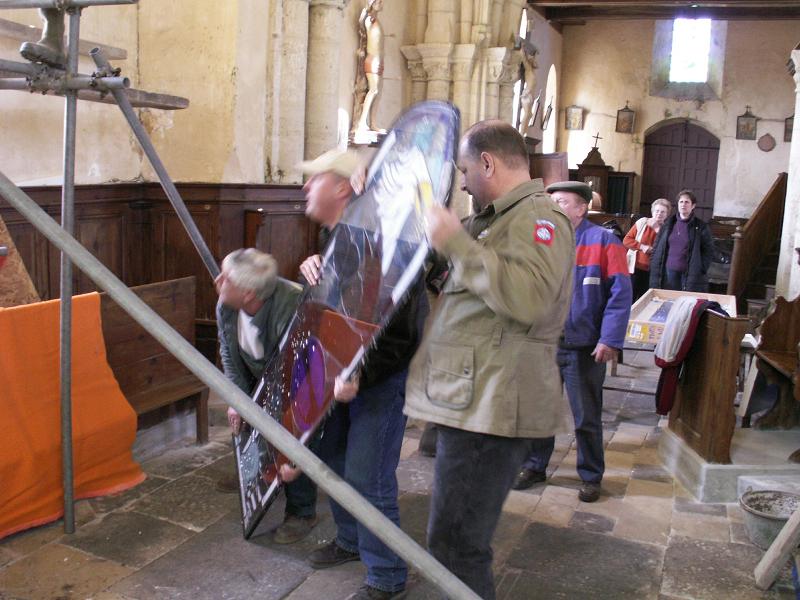
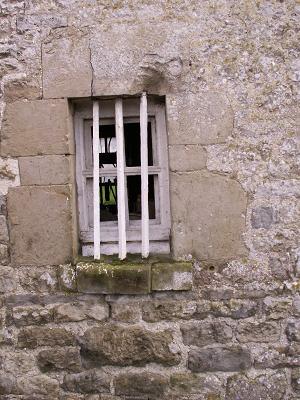
The following pictures were taken upon the arrival of the window to Angoville au Plain. I
must admit that I was more than a little nervous about the condition of the window. I built the crate and packed it myself
and wedged it between high density foam. Mayor Daniel Hamchin was at the gates of the church to greet us with his typicle
smile on his face!
ANGOVILLE AU PLAIN
| Mayor Daniel Hamchin and myself. |
|
|
| Just prior to the arrival of the window. |
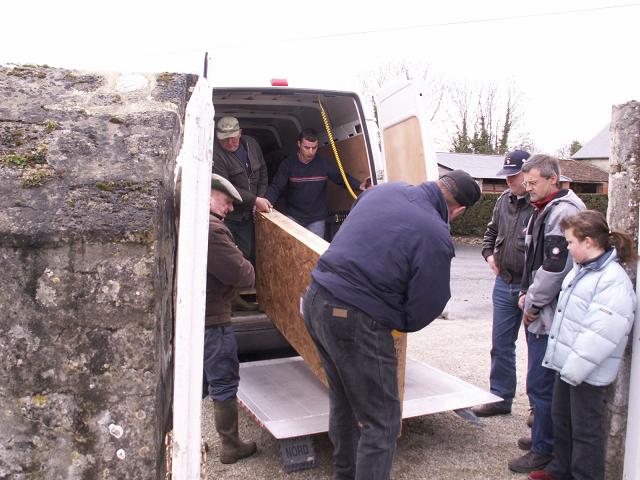
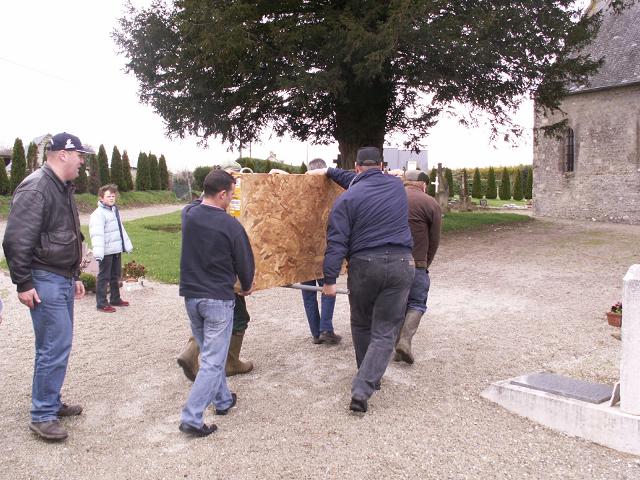
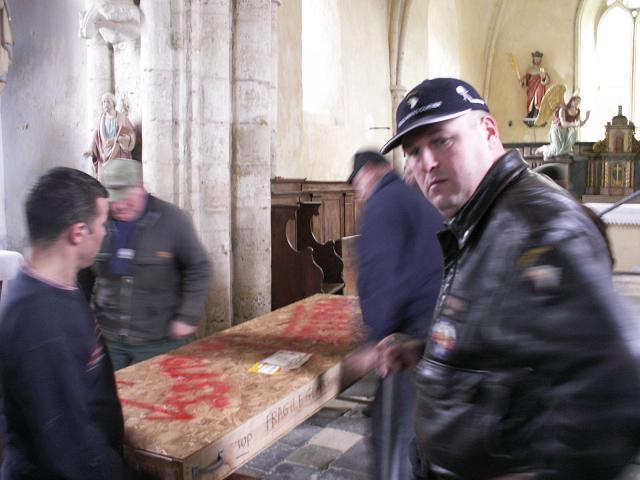
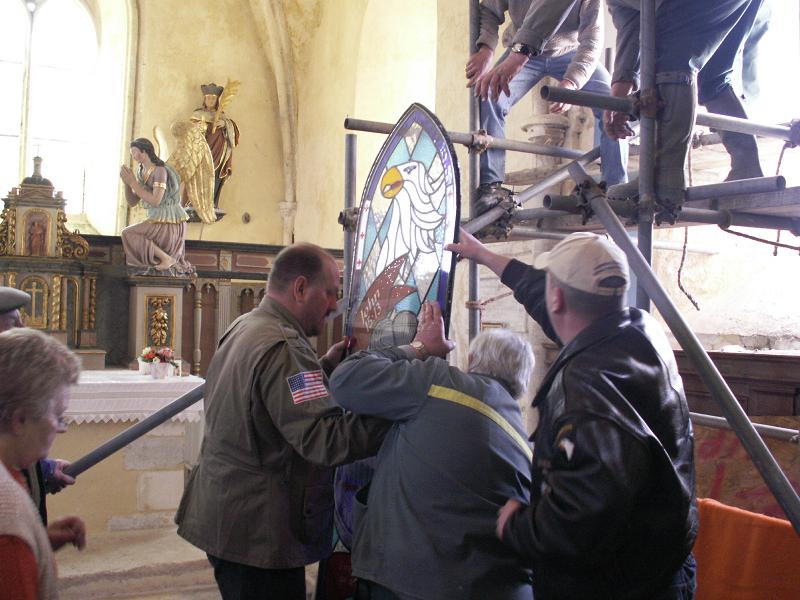
| The window enters the church. |
|
|
| We begin to remove the screws. |
|
|
|
|
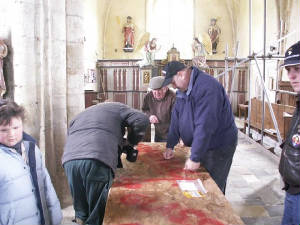
| Much to everyone's relief, the window was in perfect shape! |
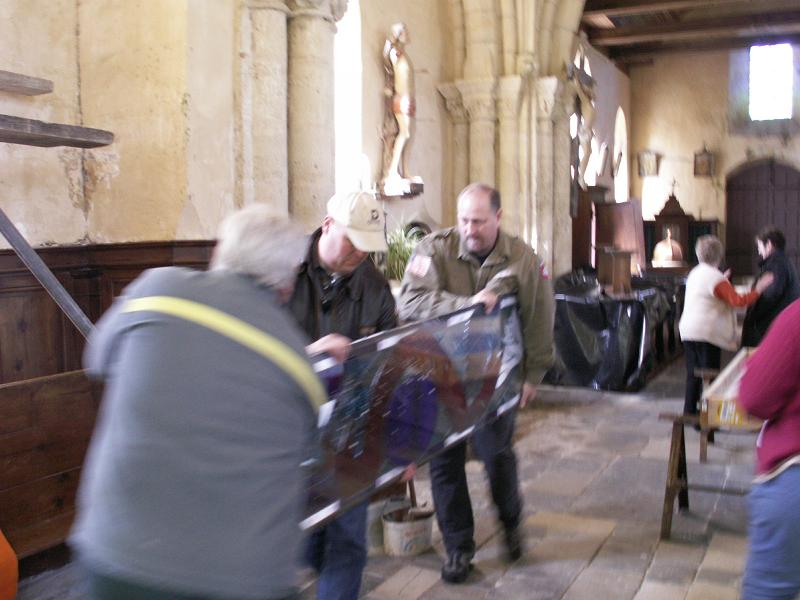
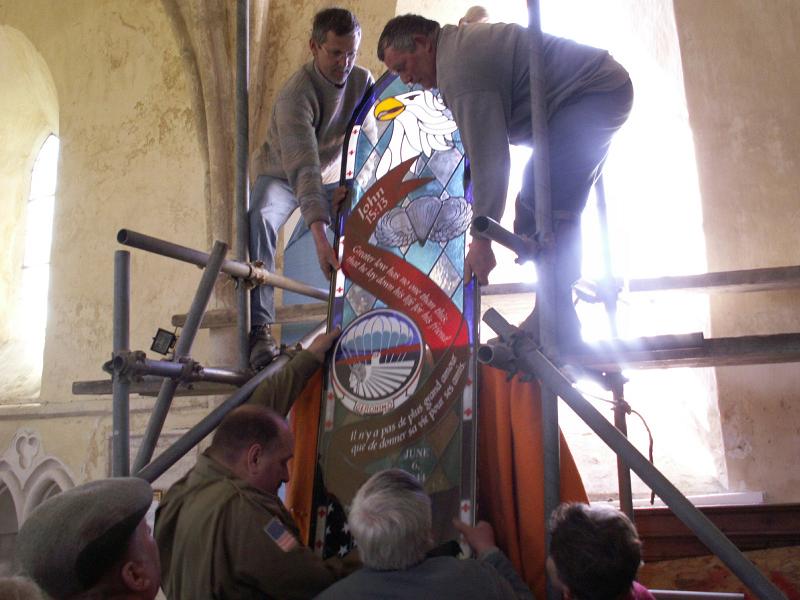
| Preperation of the window. |
|
|
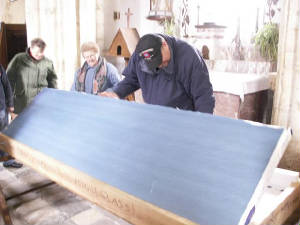
| Carefull handling of the window was needed. |
|
|
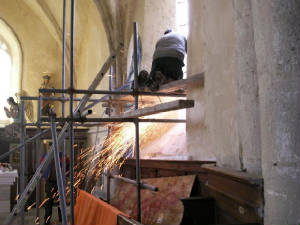
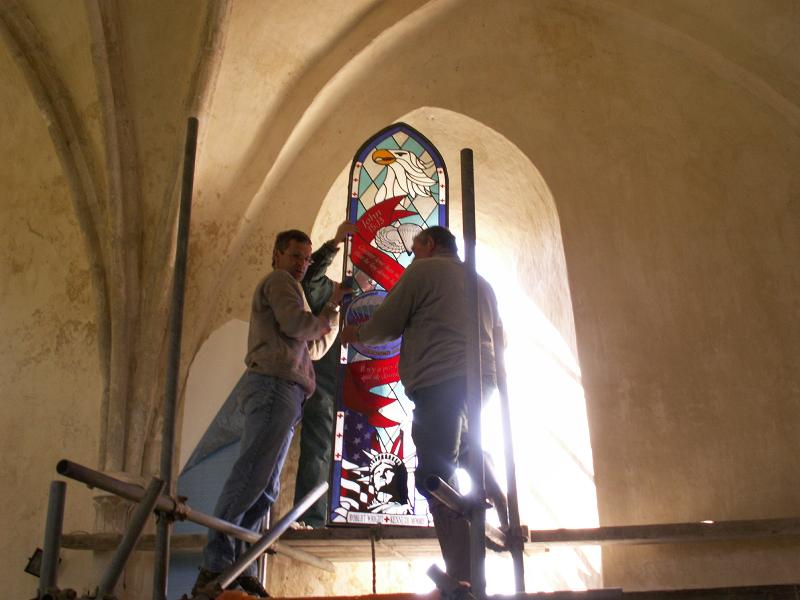
| Working on getting the outside sealed. |
|
|
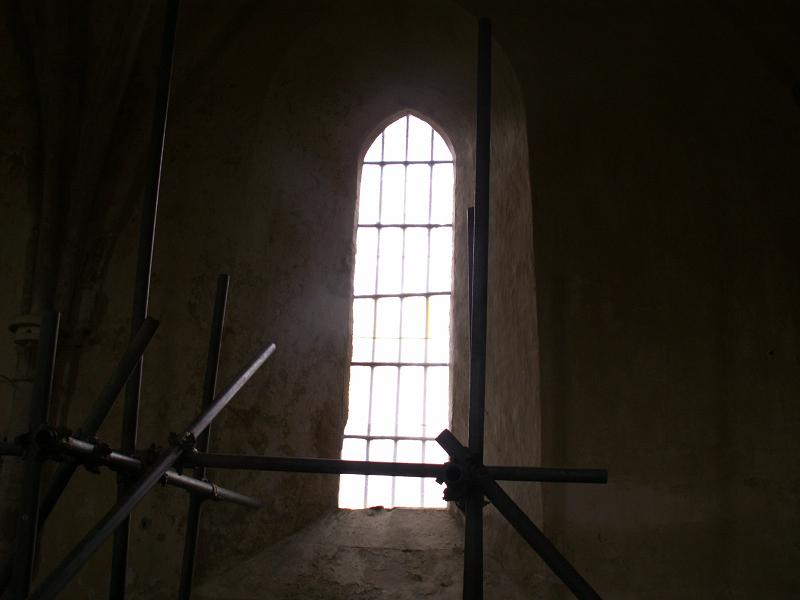
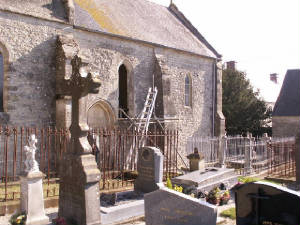
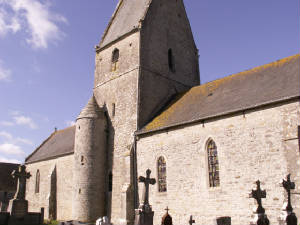
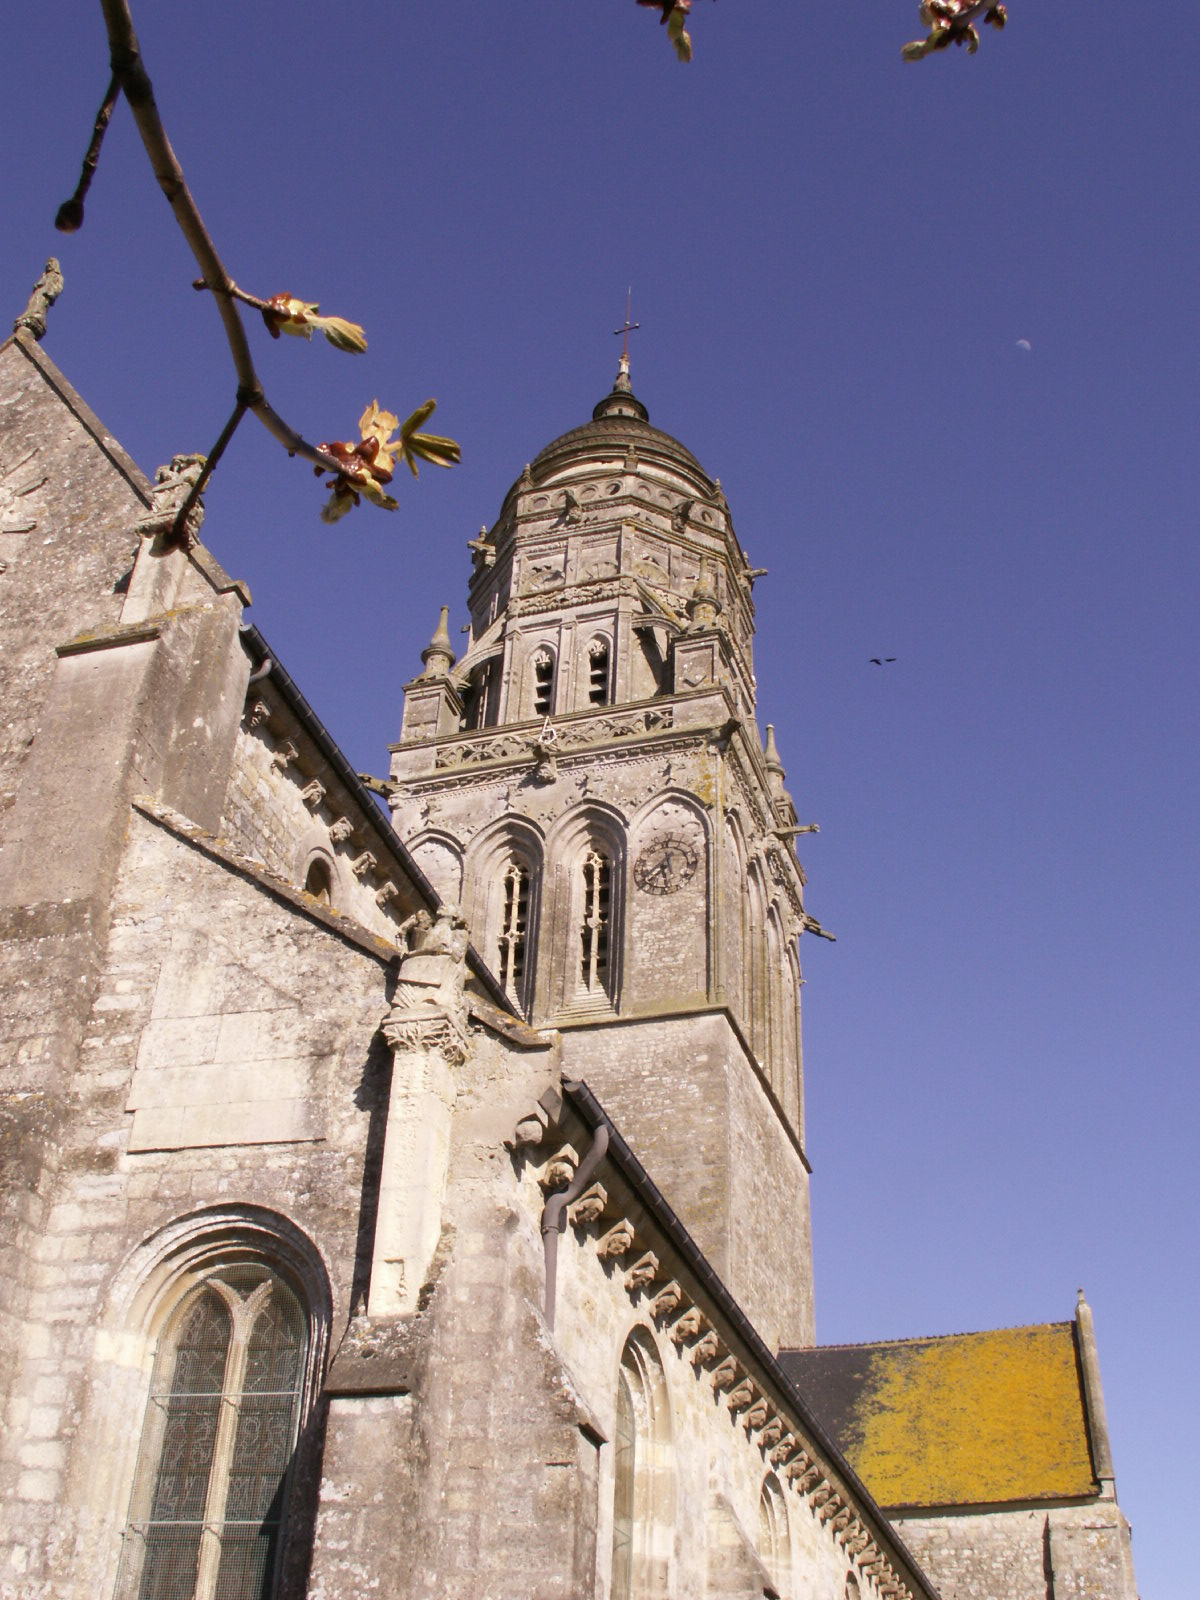
| The church in Angoville au Plain. |
|
|
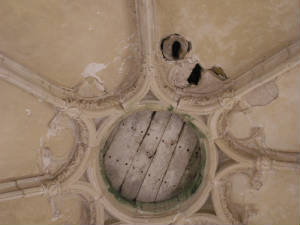
| The church ceiling. |
|
|
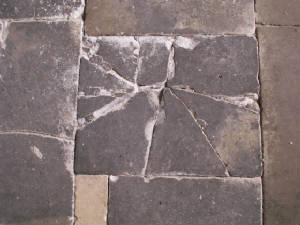
| During the battle a mortar round crashed through the roof. |
| The cracked stone floor in the church. |
|
|
| The round landed in the center of the church,unexploded! |
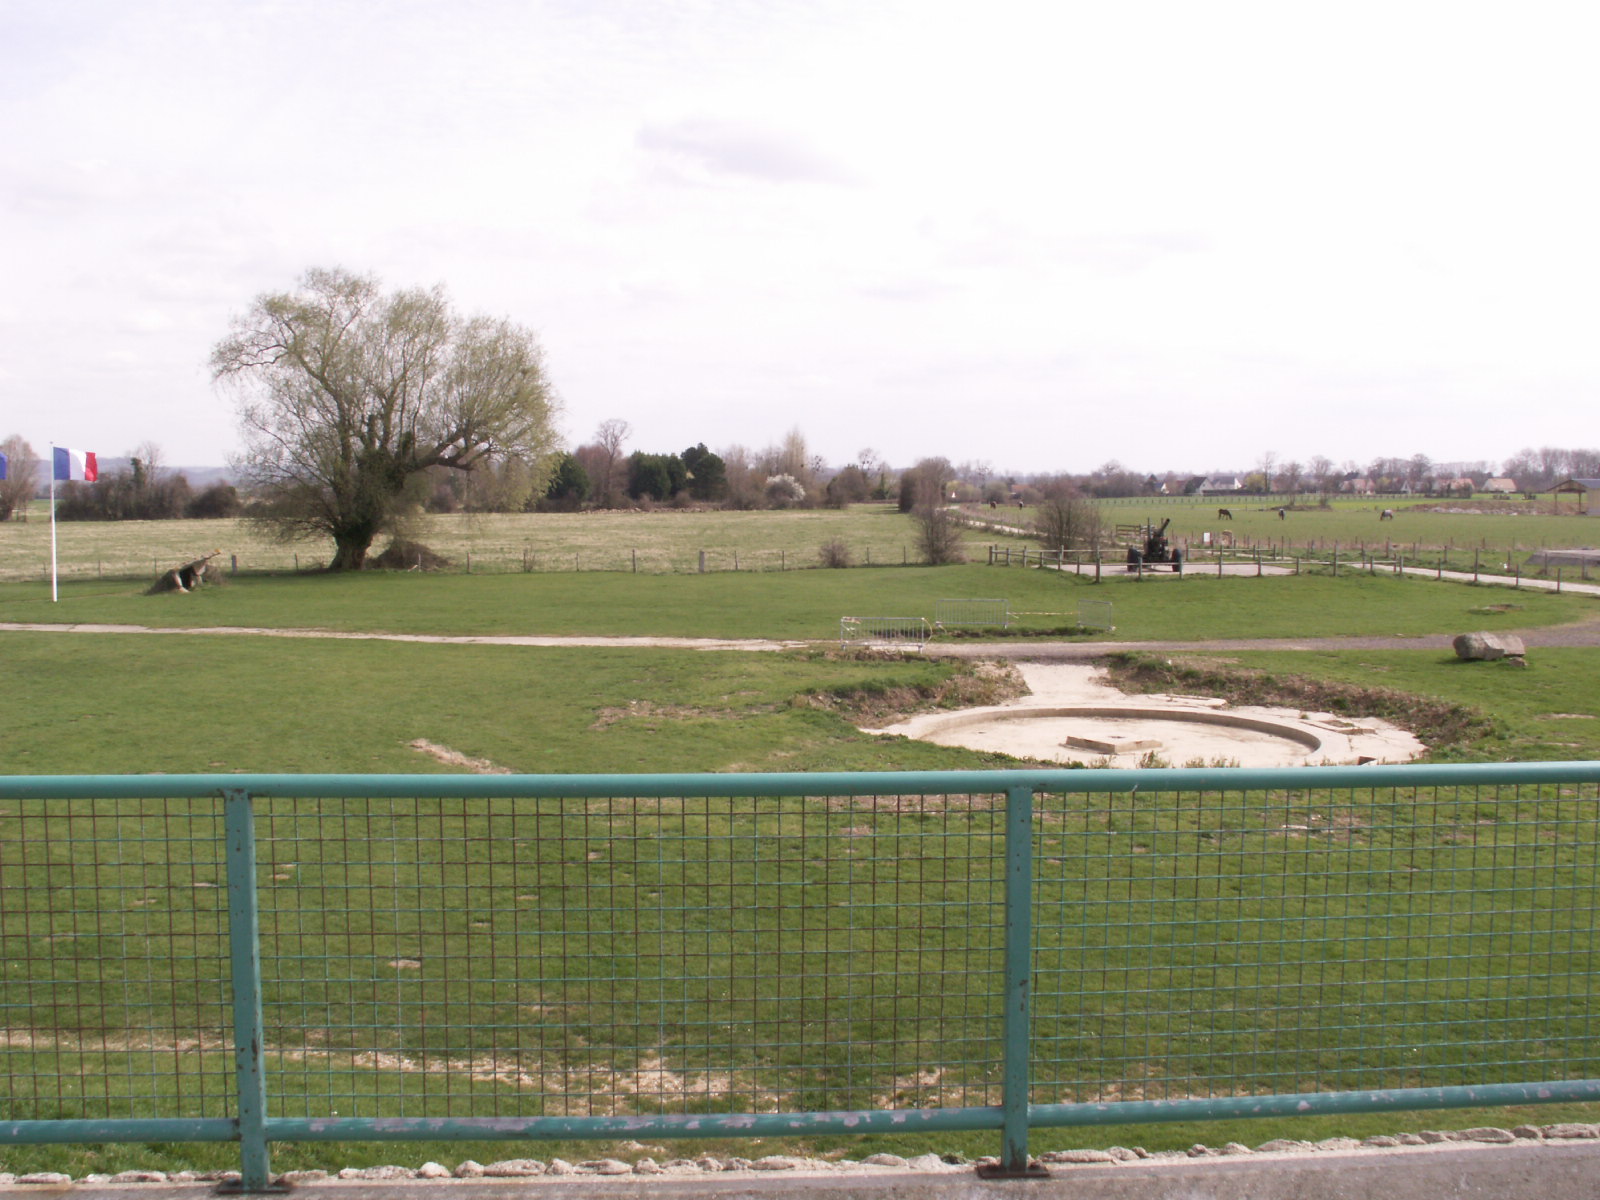
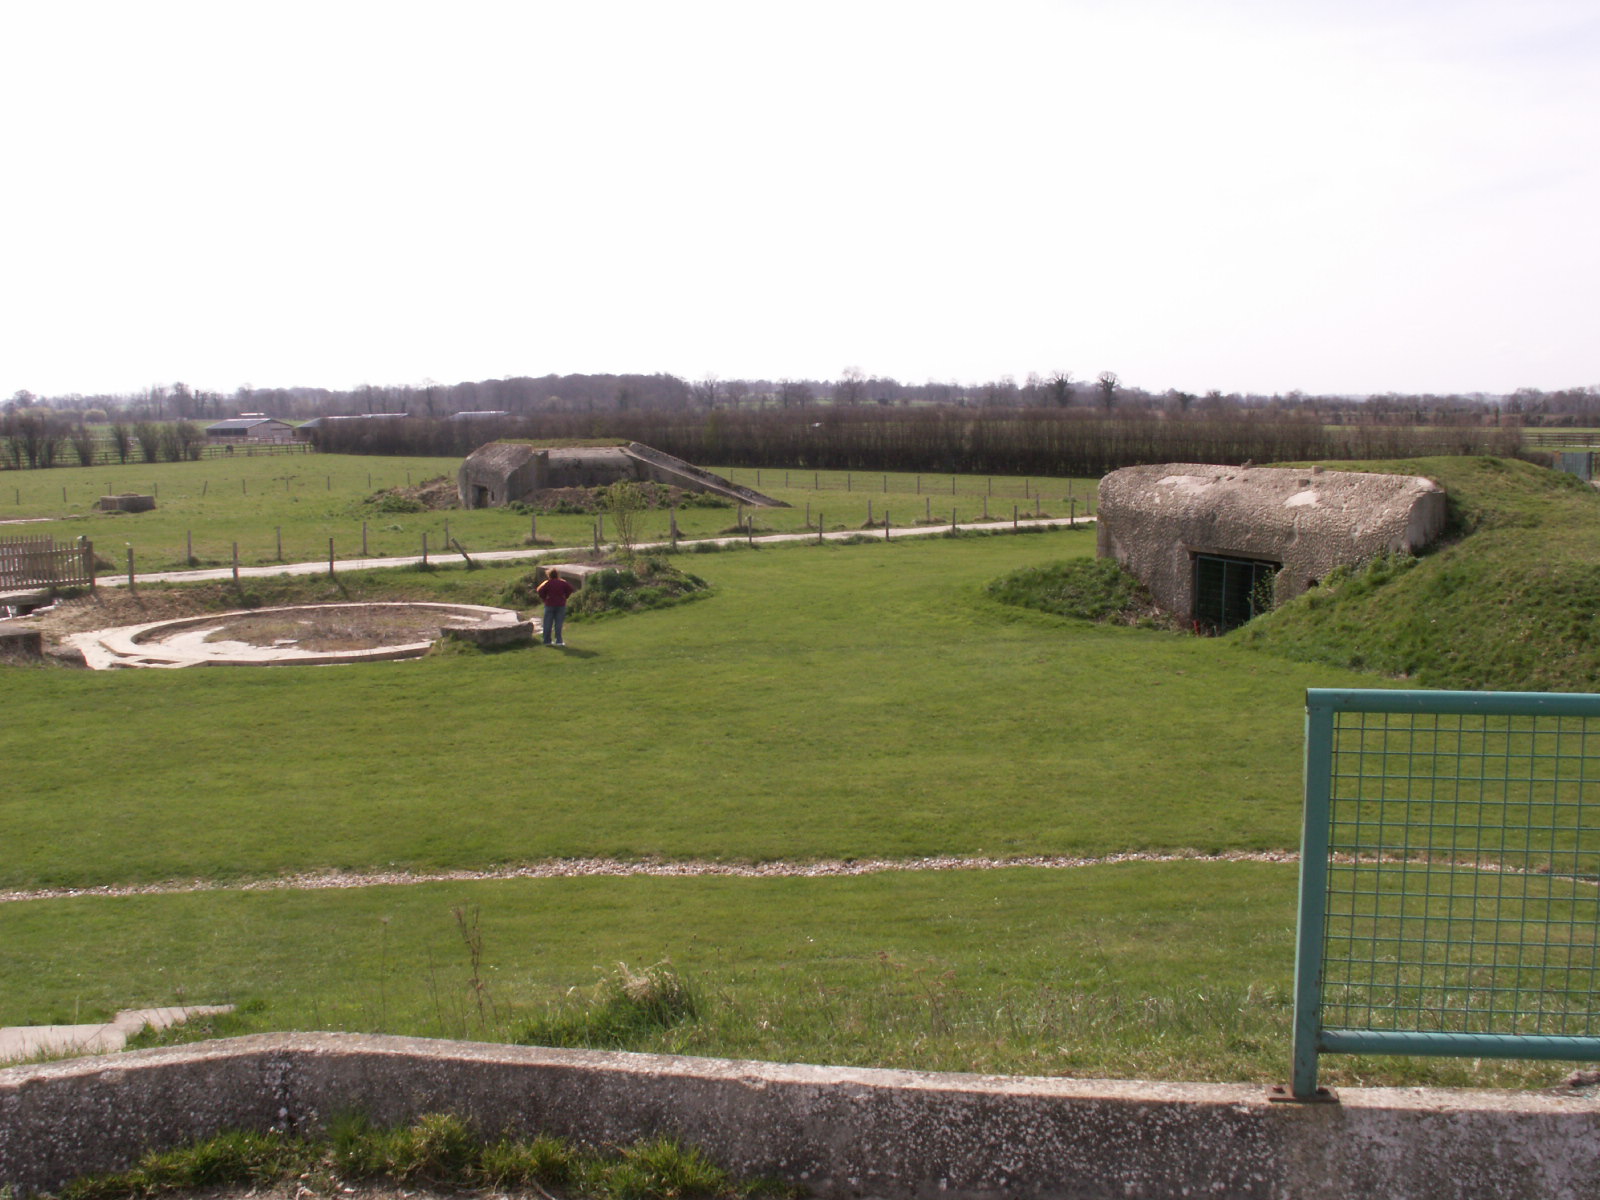
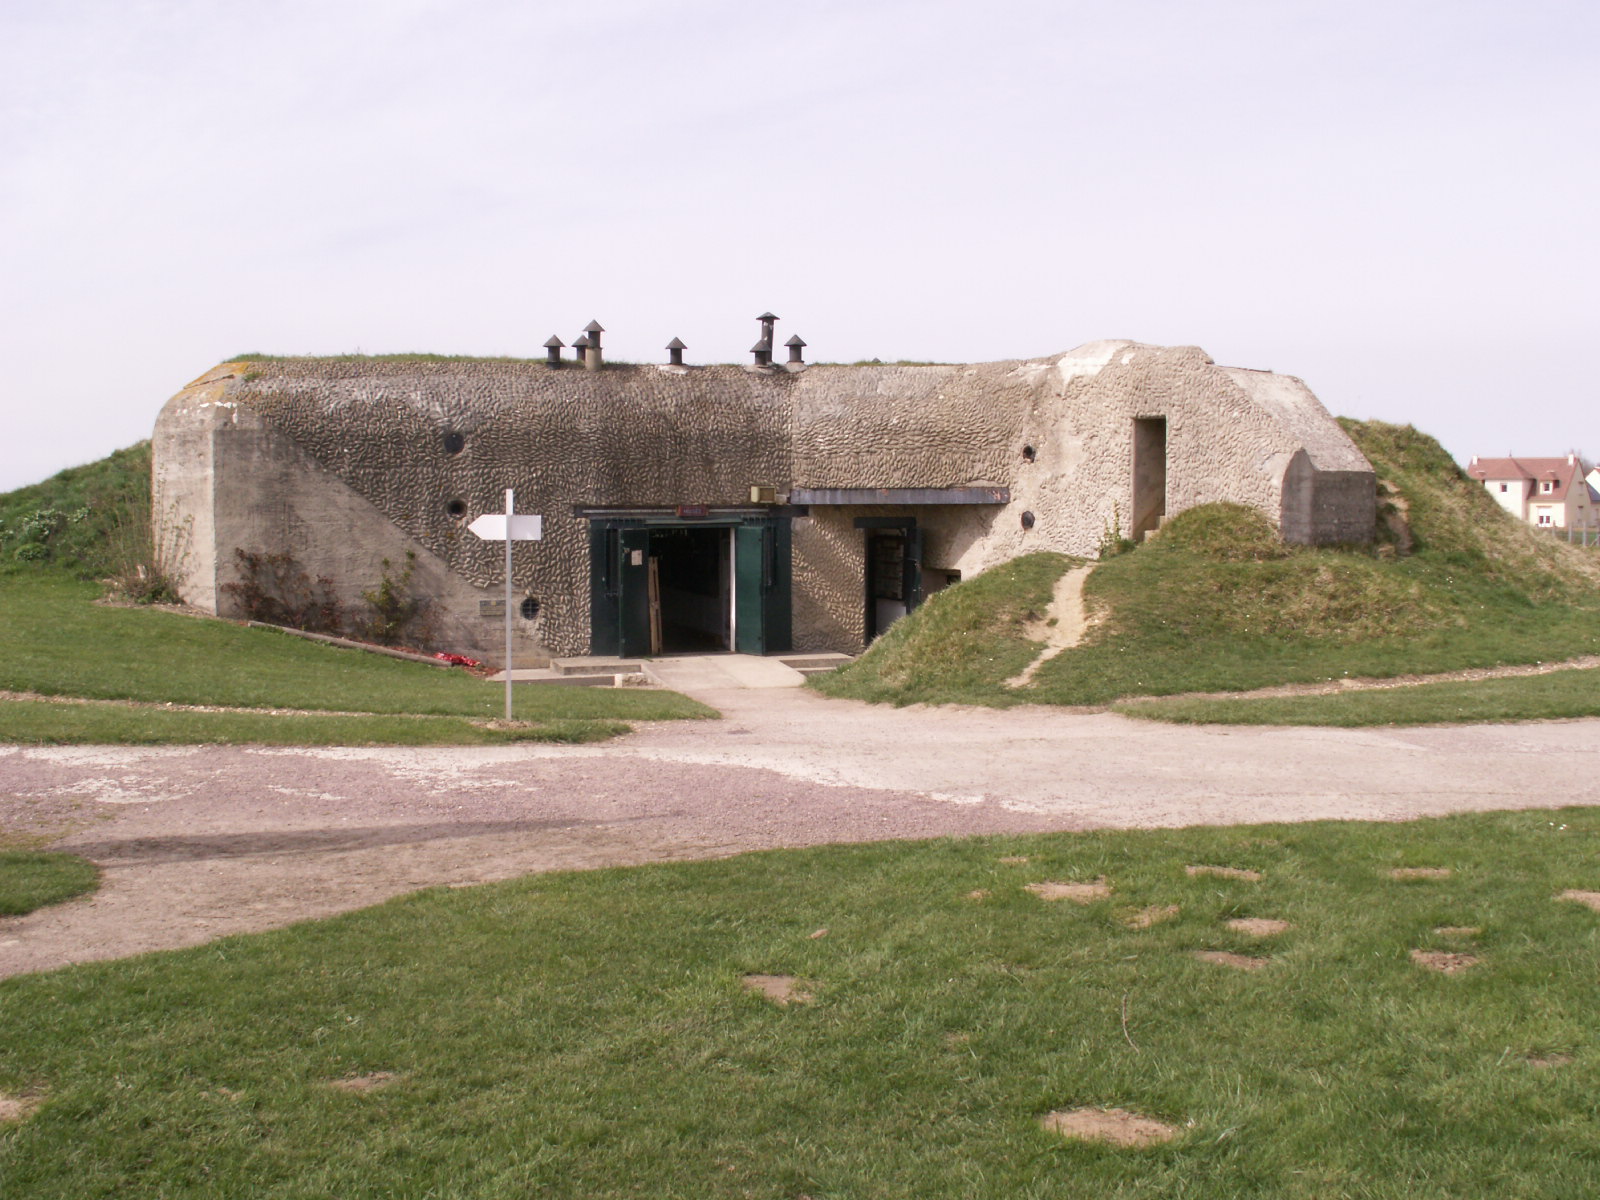
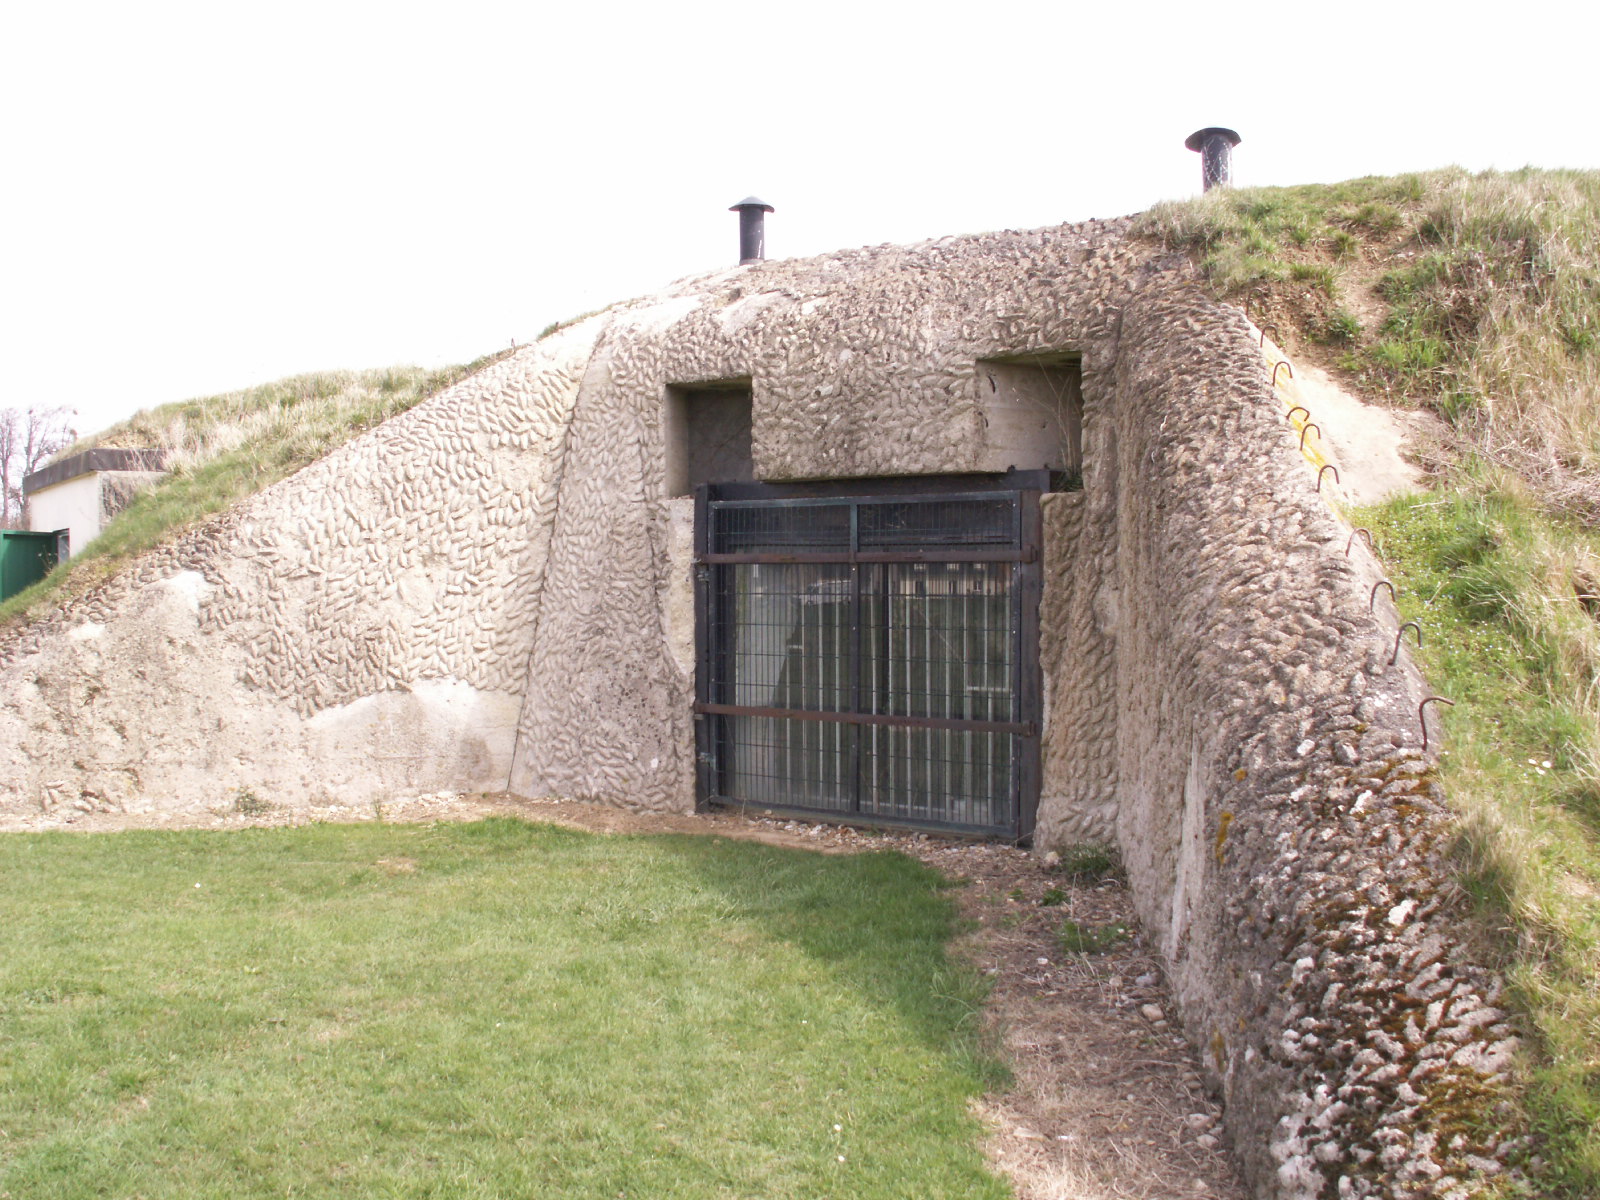
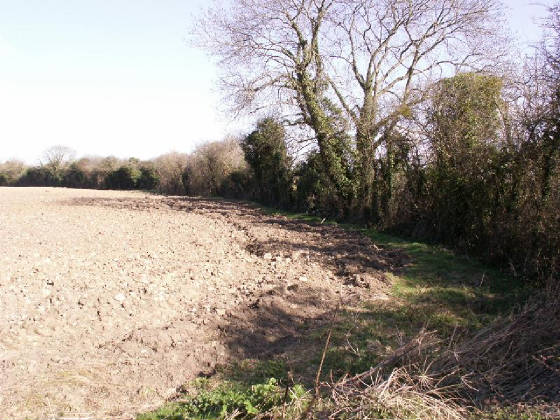
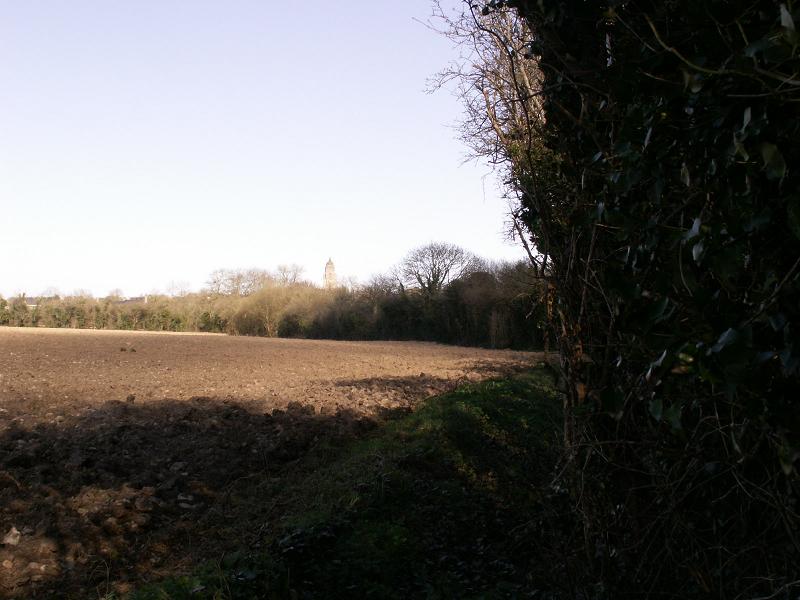
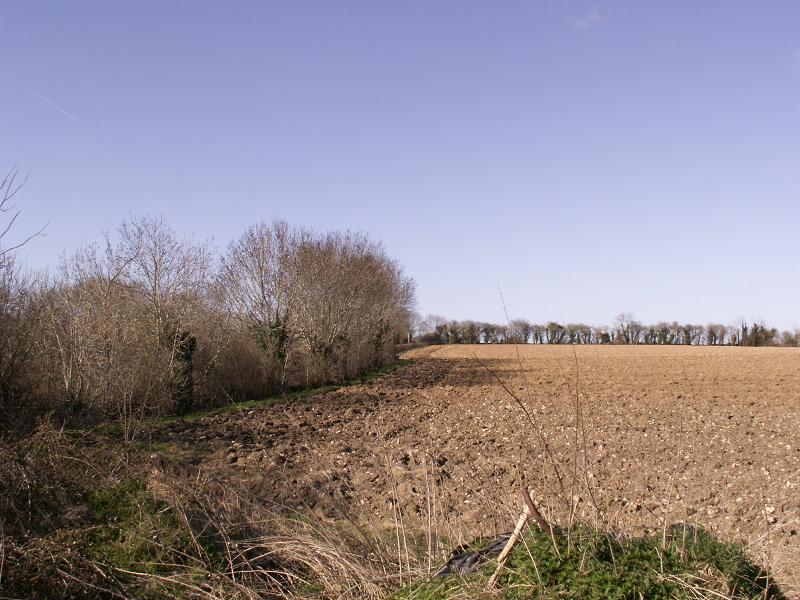
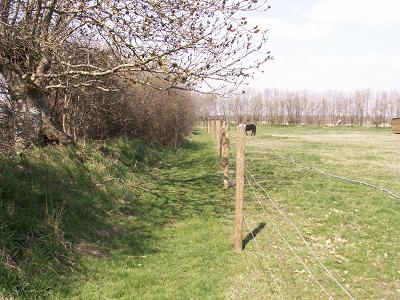
THE HOLDY GUN BATTERY LOCATION
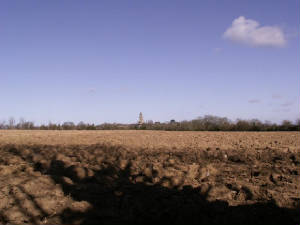
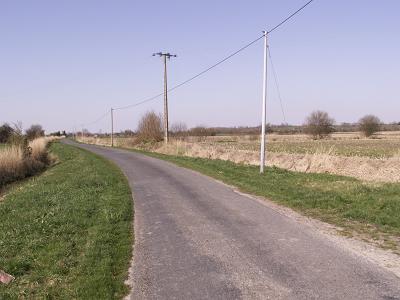
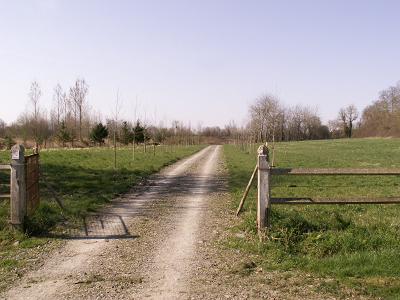
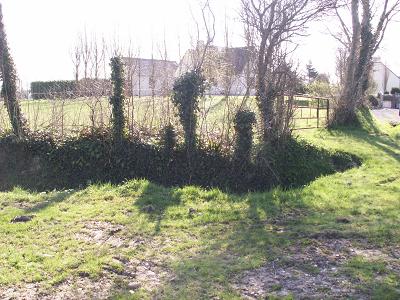
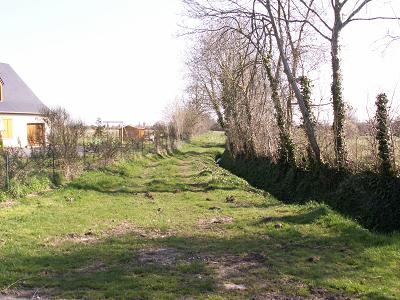
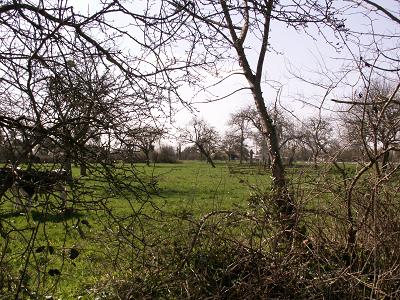
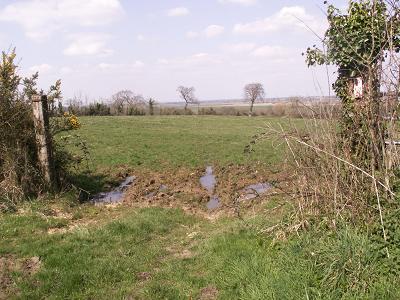
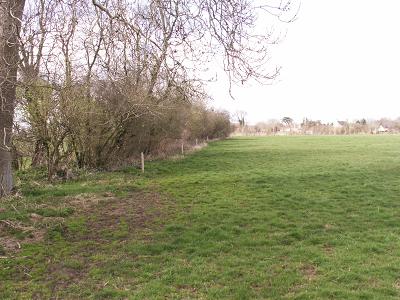
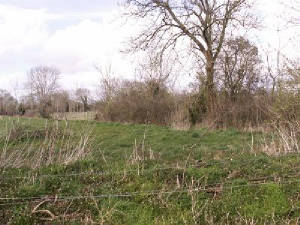
The pics that follow show the location of the Holdy gun battery and the glider landing field
that is on the other side of it. Note the location of the field to St.Marie du Mont. Also to note is the field where the guns
were placed is now a bicycle motocross field, so the pics shown are from the other side of the hedgerow. This plowed field
was the location of the famous glider pic showing the dead GI bodies lined up and covered.
|
|
| The bike trac is on the otehr side of the hedge. |
|
|
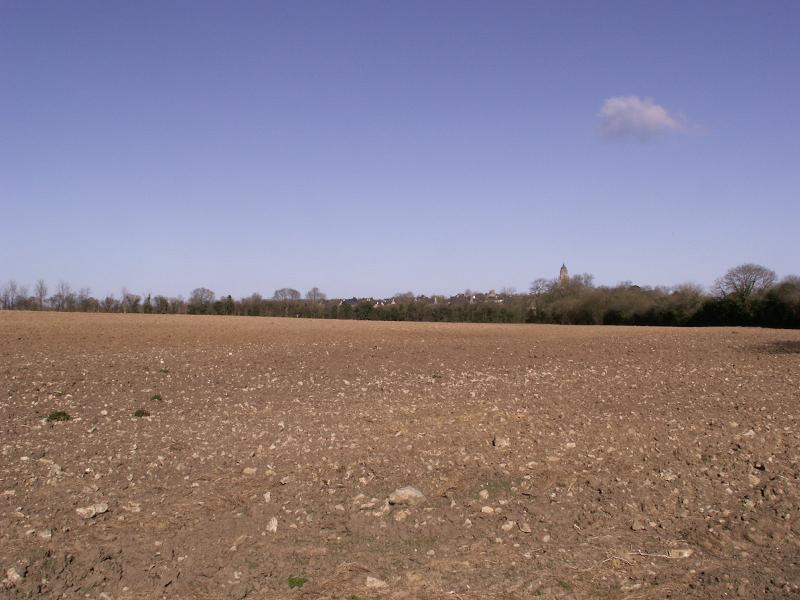
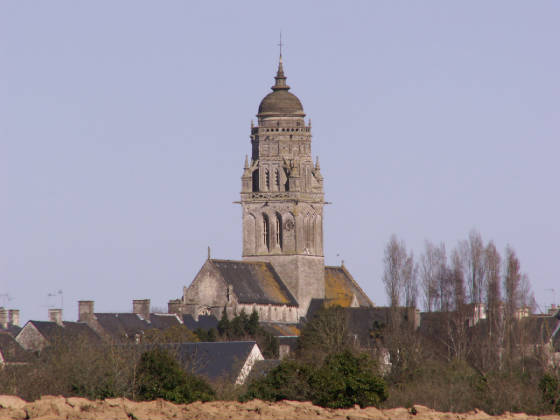
| Notice the church of St. Marie du Mont in the background. |
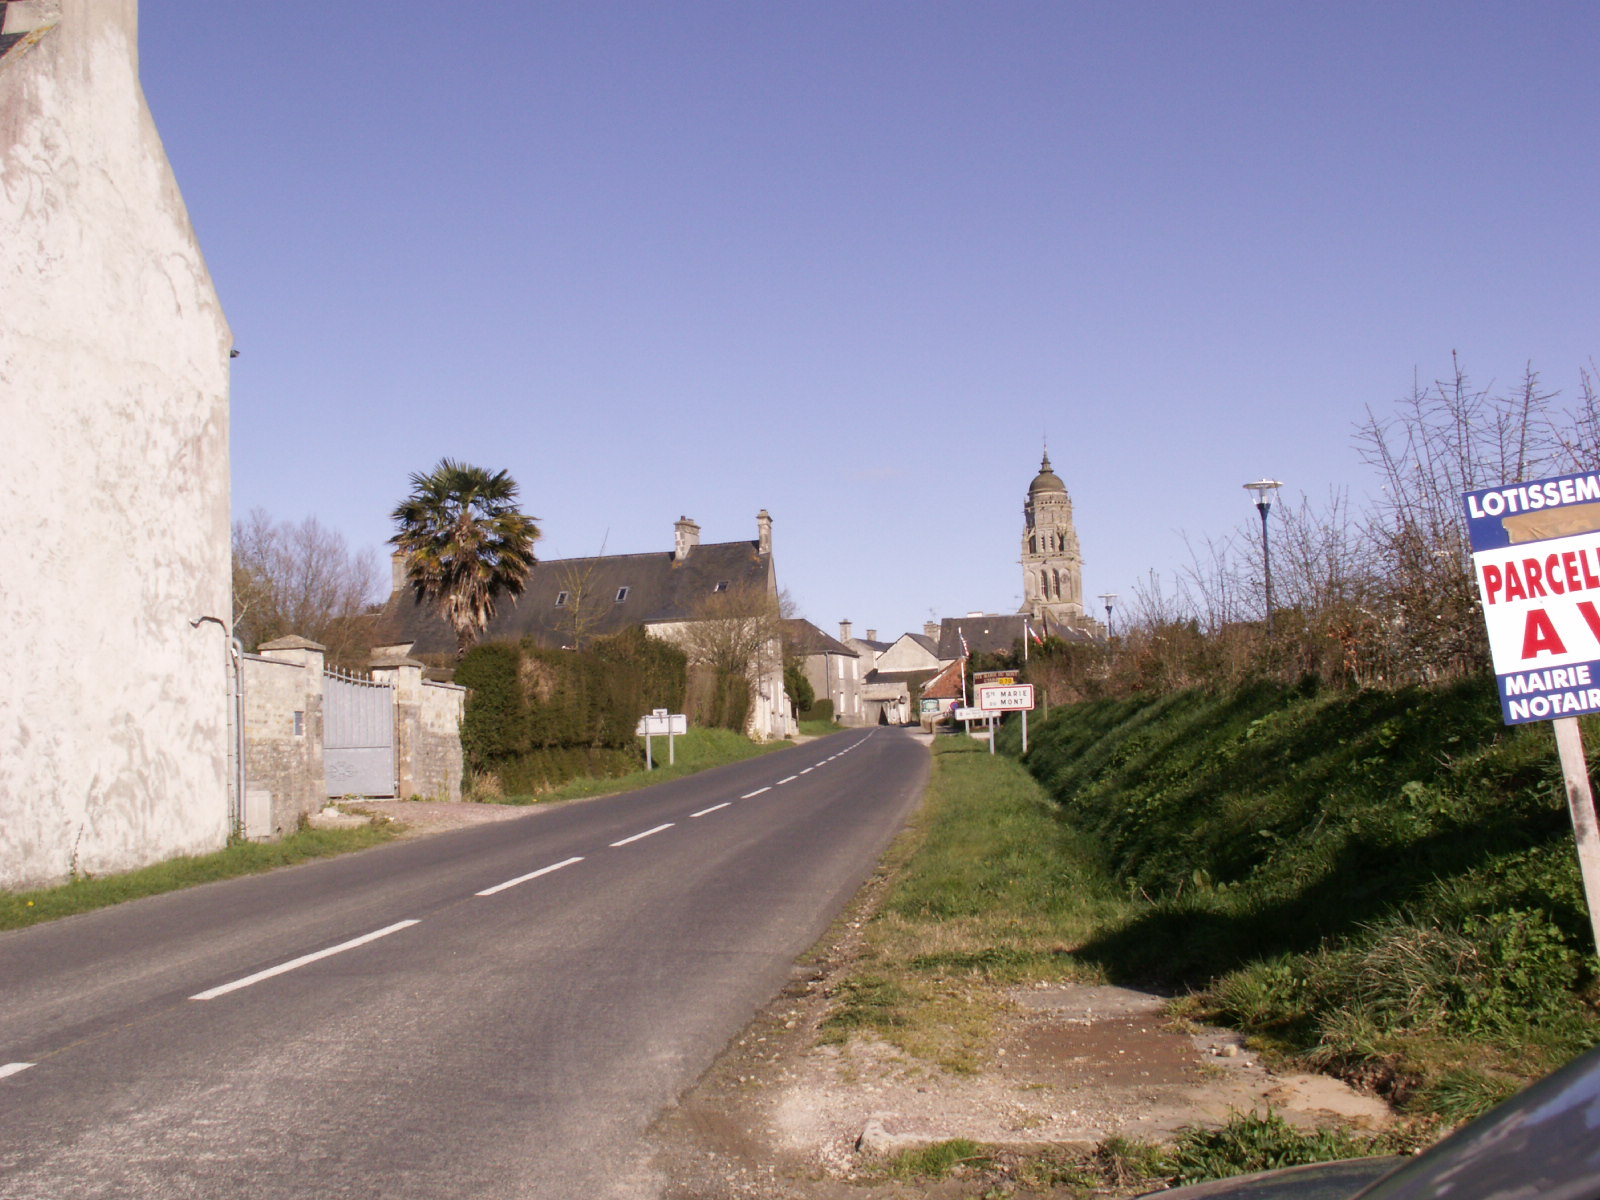
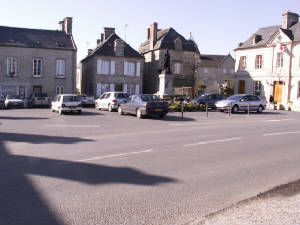
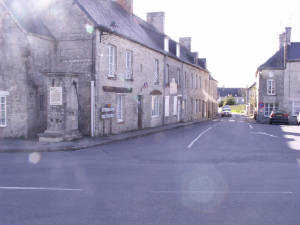
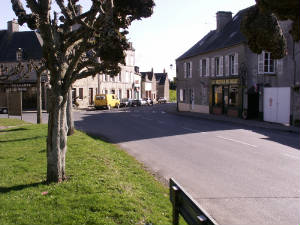
ST. MARIE DU MONT
Following are pictures of St.Marie du Mont. Some famous pictures were taken at some of these
same locations.
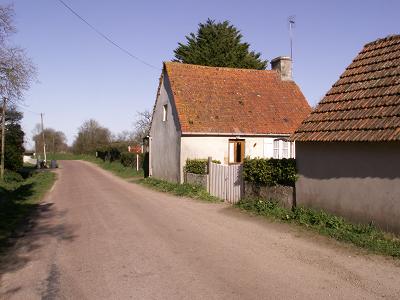
XYZ-LES MESIERES.
The pictures below were taken in the les Mesieres area. This is the site of the XYZ Complex
where Staff Sergeant Harrison Summers, B/502, led the charge that took a large number of buildings that were
occupied by German artillerymen. The actual 122mm gun battery was located a few hundred yards away. On the morning of the
invasion, Summers almost single-handedly attacked the series of stone buildings in this small village that is located just
West of the D14 road across from St. Martin de Varreville. Summers was personally responsible for the death of sevral dozen
German soldiers and virtually wiped out the 100 man strong artillery unit.
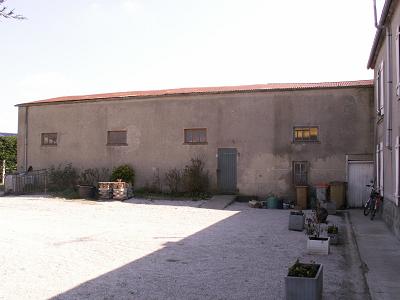
Armed with his Thompson SMG, Summers charged this small complex of 3 buildings. Building 2
is the main building shown in this picture. It was in building 3 (not shown in this picture) that Summers shot a killed
6 Germans. Building 4, which is closest in the picture was unoccupied.
| Buildings 2, 3 and 4 at les Mesieres |
|
|
| This was one of the scenes of Sgt.Summers charge. |
| The road leading through the XYZ objective. |
|
|
In attacking the buildings 6,7 and 8, Summers was joined by another trooper who was armed
with a carbine. The men took turns attacking these houses, swaping weapons as they went. In these three houses they accounted
for another 15 German dead. Building 8 is shown here.
It was at building 9 that the German artillery men had their messhall located. Summers entered
this chateau and discovered 15 Germans, all seated and eating their morning breakfast. As the Germans jumped up to grab
their weapons, Summers mowed them all down with his Tompson SMG.
It was down this road that Summers charged from building 8 and heading to building 9.
| Looking East down the road that leads to the D14. |
|
|
| Taken from the road across from building 9. |
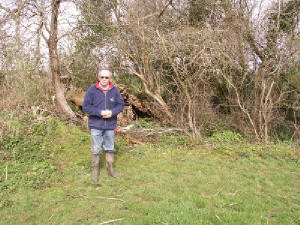
Ah yes, the infamous building 5 at les Mesieres. The dogs were set loose on me once again
here. I was ready for the attack this time and swiftly sank the boot on the leading St.Bernard. After showing him who
was boss, the dogs kept their distance. It was here that Summers was joined by an 82nd Airborne Captain who was killed on
the attack of the building. Summers had to make a room to room search and in doing so, gunned down another six Germans.
| Building #5 at the XYZ Complex. |
|
|
| Yep, the damn dogs came after me again here! I was ready for them this time. |
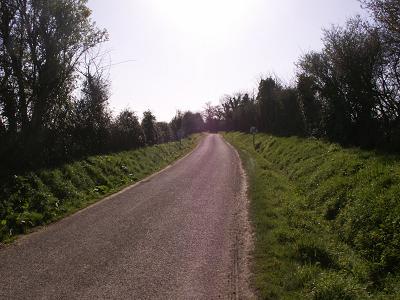
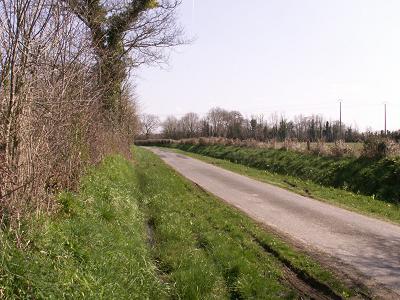
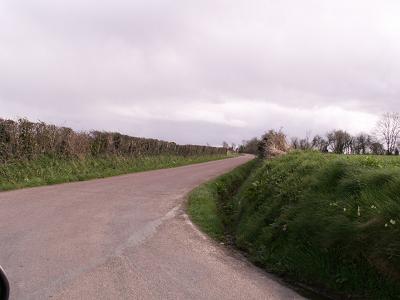
| The road leading into les Mesieres from the West. |
|
|
| This is the road that was taken from the DZ. |
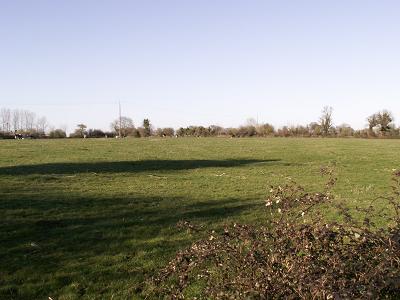
The two pictures below show drop zone "A". Designated DZ for for elements of the 502nd
Parachute Infantry Regiment.
| The DZ located just to the West of les Mesieres. |
|
|
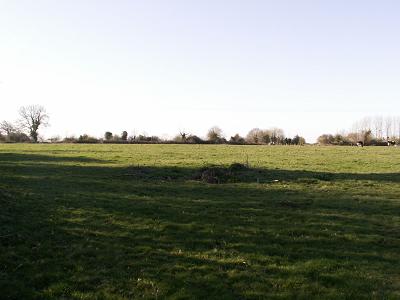
| Another shot of the les Mesires drop zone. |
|
|
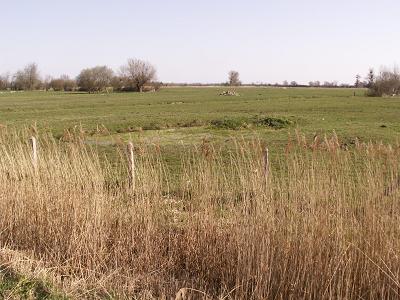
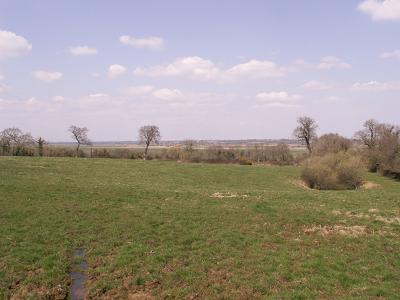
HELL'S CORNERS.
On June 7th, 500 German soldiers of the 1st Battalion Parachute Infantry Regiment 6 were retreating
south from St, Marie du Mont, in an effort to reach Carentan. It was here that Lt. Fred Owens and Private Leo Runge set up
their light machine gun and opened fire on the retreating German Paratroopers. They fired until the machine gun jammed then
falling back fired an M-1 rifle at the large oncoming force. This delay let Col. Johnson set up a number of rifle
men, machine guns and mortars to counter the attack of the German force. It was tough going for the Germans as
they were in foot deep water and weeds caused by the the flooding of the area and they were on open ground. The force
was devestated and lost over 150 killed with 350 captured. Approximately only 25 germans escaped that day. American losses
were quite a bit less at 10 KIA and 33 WIA.
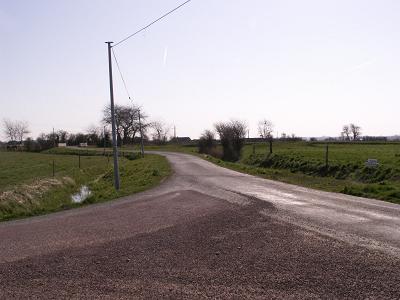
| Hell's Corners looking East. |
|
|
| Parey Farm can be seen in the distance. |
| At the time there was a low stone wall along here. |
|
|
| It was from this direction that the Germans came. |
|
|
| They were coming from the direction of St. Marie du Mont. |
| South/South East in the direction of the locks. |
|
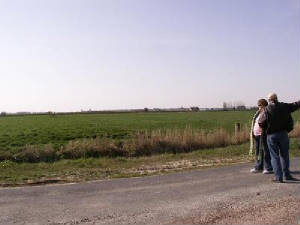
|
| Paul Woodage explains to Sandy |
|
|
| what happened in this area. Carentan is due South of here. |
| This picture shows one of the shell craters that |
|
|
| was caused by the "Quincy" firing on the Hells Corners area. Now filled with water. |
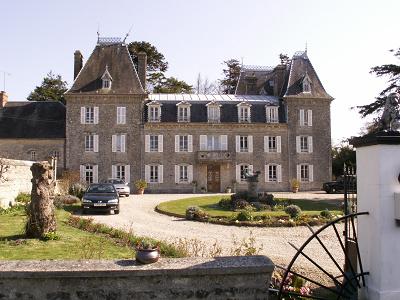
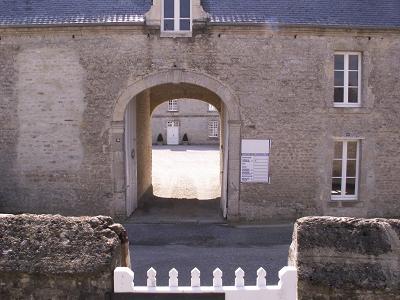
CHATEAU LE BEL ENAULT.
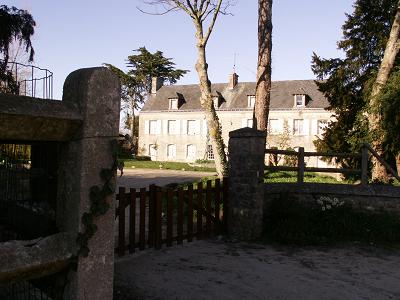
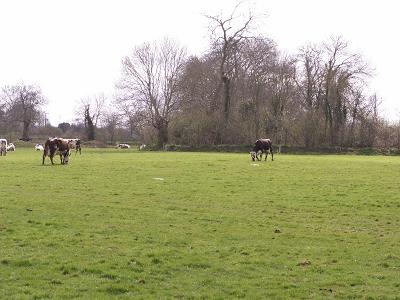
Below are pictures of Chateau le Bel Enault. Col. Howard R. Johnson, Commander of the 501st
Parachute Infantry Regiment landed in the small field across from the chateau on D-day.
| This is the location in which Col. Johnson landed. |
|
|
| This is directly across from the entrance to the chateau. |
| This road heads due south from the chateau. |
|
|
| This is the direction that Johnson and his group took to get to the locks at La Barquette. |
| The back garden of the chateau. |
|
|
| Leo Runge landed here and proceeded into the chateau, killing Germans inside. |
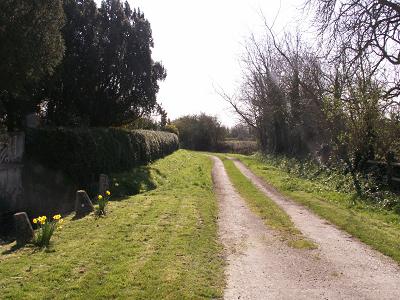
GILLIS'S CORNER.
The pictures below show the area surrounding "Gillis's Corner". It was in this location that
Sergeant Leo Gillis took out three Germans with his M-1 rifle. They were manning an MG 42 on the corner. Fellow troopers
Huston, James Luce and Don Shinkoeth were killed in this area.
| Gillis's Corner looking the opposite direction. |
|
|
| The water trough is on the left and the road heads towards Angoville au Plain. |
| A German machine gun was in this position. |
|
|
| This is the gun position that Gillis took out. |
| This picture shows the exit off DZ "D". |
|
|
| The German Machine gun was set up on the right side just out of the picture. |
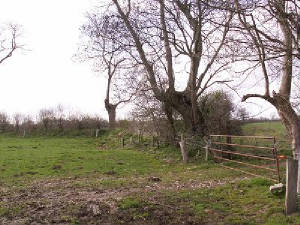
| Landing spot of Col. Bob Wolverton. |
|
|
| Wolverton was killed while still hanging in his chute in an apple tree. |
| The Wolverton landing field from another angle. |
|
|
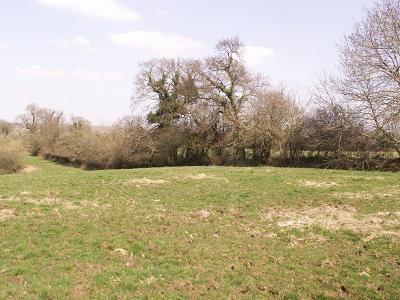
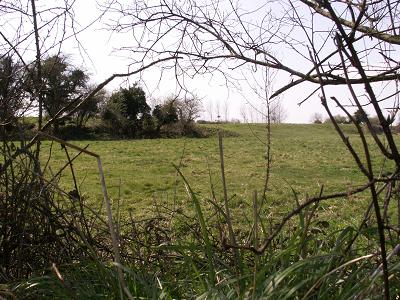
THE BLOODY GULCH AREA.
| The site where Don Burgett was wounded. |
|
|
| This is in the Bloody Gulch area. |
| The field where men of A/506th made a |
|
|
| bayonette charge. |
| The bloody gulch field looking north. |
|
|
| Bloody Gulch field looking North/west. |
|
|
| Dead,dying and wounded paratroopers |
|
|
| lined the ditches in bloody gulch. |
| Another view of the gulch area. |
|
|
COLE'S CHARGE AT THE THE CABBAGE PATCH.
| A hedgerow located at the site of Cole's charge. |
|
|
| The Cabbage Patch. |
| The Cabbage Patch field. |
|
|
| This is located directly behind the car dealership, just North of Carentan. |
| Looking at the hedgerow from the direction of the |
|
|
| bayonette charge. |
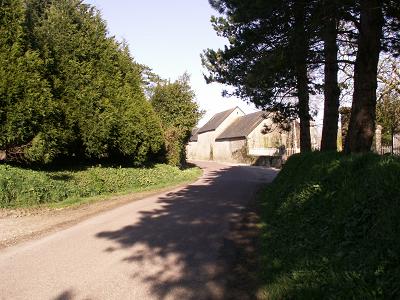
| The Ingouf farm at the Cabbage Patch. |
|
|
| Bullet holes are still present in the farmhouse. |
|
|
| Ingouf farm. |
| Paul Woodage took this picture of me in front of |
|
|
| the Ingouf farm. |
ST.COME DU MONT.
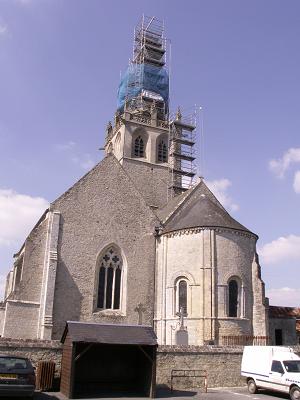
| The church in St.Come du Mont. |
|
|
| Joe Beryerle landed on the roof of this church on D-day. |
| Joe slid down of the roof and landed in the spot |
|
|
| the picture is taken from. |
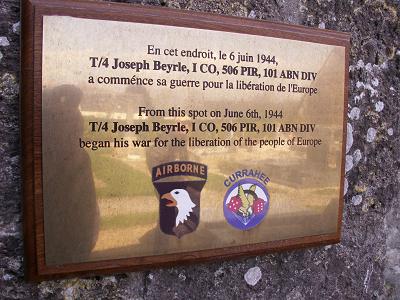
| Joe Jr. placed this plaque on the side of the |
|
|
| church where his father landed. |
| Scenes from around St.Come du Mont. |
|
|
| This is the location that the Germans brought |
|
|
| some of the captured paratroopers in St.Come du Mont. |
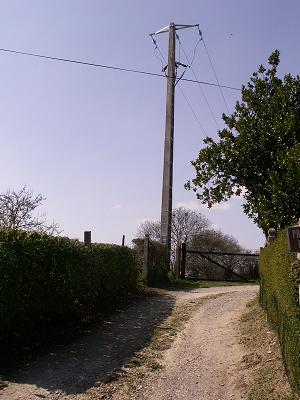
| This was the location of the power grid for the |
|
|
| town of St.Come Du Mont. Joe Beyrle blew this up on D-Day. |
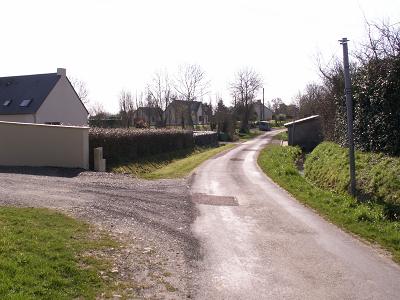
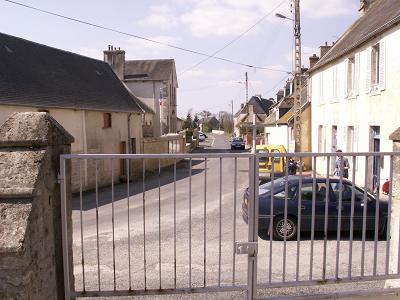
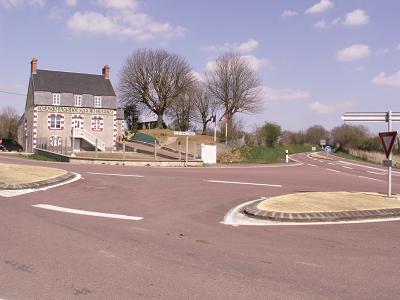
DEAD MAN'S CORNER.
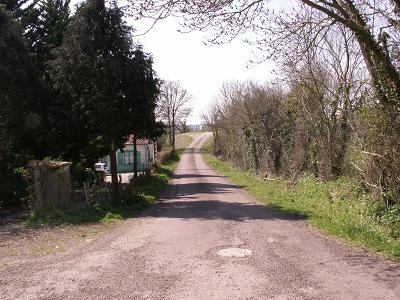
Dead Man's Corner sits just south of the village of St.Come du Mont on the N13 road. The N13
leads down purple heart lane, across the Douve River bridges, past the cabbage patch and into Carentan.
It was on this corner that a U.S. M3 Sherman tank was hit by German's from across the road.
The crew was killed and the commander of the tank was hanging dead from the turret. Thus the name of the corner.
In doing further research and study of the WW2 picture taken of the tank, I believe that the
tank was fired on from across the N13 road, from approx. the location from where the picture was taken. The
Germans were on this side of the road and if you look at the picture of the tank, there is an entry hole to the right of the
tanks gun. This possible location is shown in the second picture below. one must also bear in mind that the N-13 road at the
time of the war was not even close to being as wide as it is now and was the main road that runs from St. Mere Eglise to Carentan.
The D-913 runs to the right as you look at the house and goes to Angoville au Plain as well as other villages. The tank came
down this road that is now the main road over the N13.
| Dead Man's Corner, |
|
|
| This is just south of St.Come Du Mont heading towards Carentan down Purple Heart Lane. |
| This is the other side of the N13 across from Dead |
|
|
| Man's Corner. |
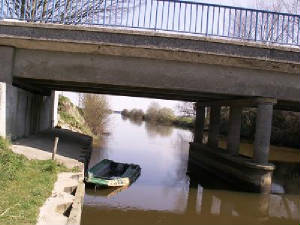
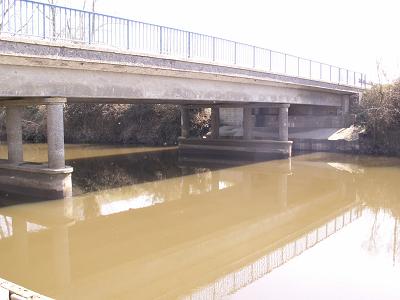
DOUVE RIVER BRIDGE #2.
| Bridge 2 over the Douve River. |
|
|
| The bridge was blown and had to be spanned |
|
|
| by wooden planks which the troopers ran across under heavy fire. |
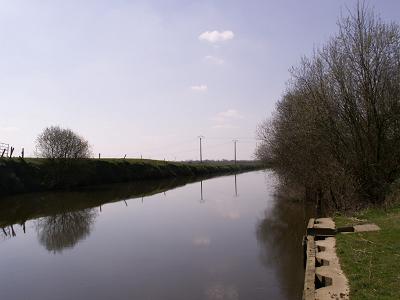
| This pic looks down the river and shows the |
|
|
| location of German snipers,(left) that were shooting at the troopers who were crossing the bridge. |
CARENTAN.
| This shot shows the direction in which E/506 |
|
|
| entered into Carentan. |
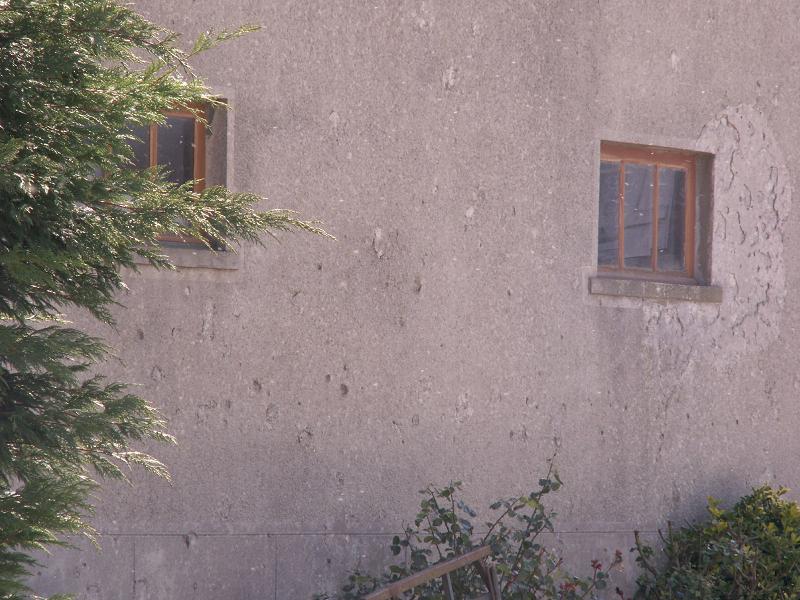
| It was recently discovered that this house is the |
|
|
| probable location of the aid station that treated Blythe, Winters, Lipton. |
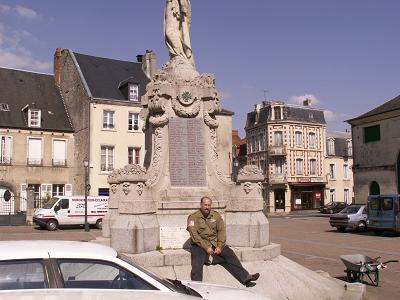
| Carentan town center and the WW1 Memorial. |
|
|
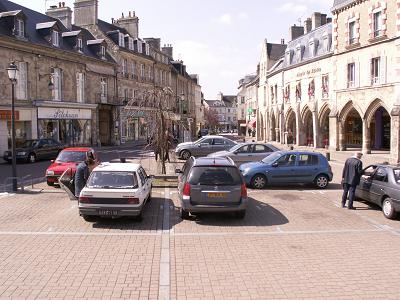
| The town center. This is where the division held |
|
|
| the awards ceremony that was shelled by the Germans. |
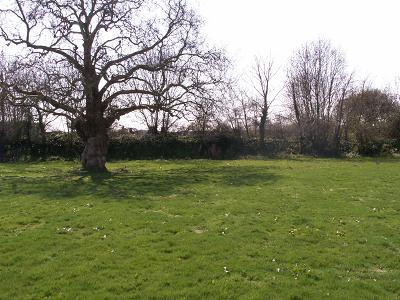
LE GRAND CHEMIN AND BRECOURT MANOR.
Mr. De Vallavielle attended the dinner the night before the window dedication and asked Paul
Woodage if I had been to Brecourt Manor. I told him that I had been by there 3 or 4 times but had never been on the field
itself. He graciously offered to take me on a personal guided tour of the field and his fine manor.
While there he showed me the two feet of one of the guns and also a 105 shell. He also showed
me where Don Malarkey hit his manor with a motar round that he fired.
While in the courtyard of the manor Mr.De Vallavielle presented me with a D-Day medallion.
He has given one other of these medallions to Major Dick Winters. It was an honor to be given the tour and I appreciate him
taking the time to give it.
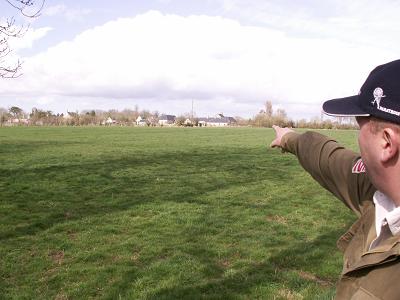
| Paul Woodage points towards Grand Chemin. |
|
|
| Taken in the field across the hedge from where the guns were at Brecourt. |
| The 4 German 105's were located here. |
|
|
| The attack came from the left and along this hedge |
|
|
| the guns were to the right and out of this picture. |
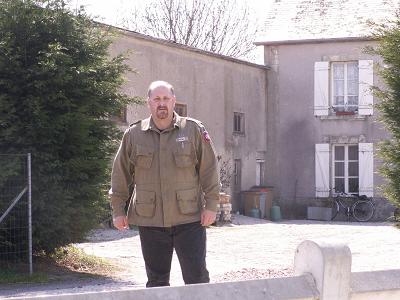
| The owner of Brecourt Manor, Mr. DeVallavielle. |
|
|
| He gave me a personal tour of the Brecourt area and the Manor. |
| The hedge in the distance shows where the |
|
|
| German machine guns were set up to cover the guns. |
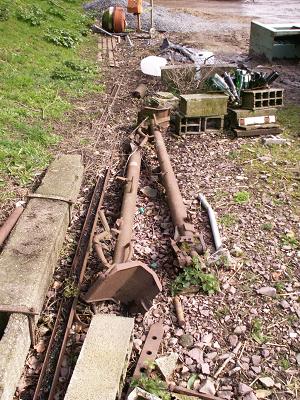
| These are the two feet of one of the 105's that |
|
|
| were at Brecourt Manor. |
| One of the De Vallavielle children shows us a |
|
|
| German 105 shell found at Brecourt Manor. |
| This portion of the manor was hit by a motar that |
|
|
| was fired by Don Mararkey of E/506. |
| These two trees sit to the left of where the guns |
|
|
| were and may be the location of the tree Lipton climbed. |
| This is the location of the ambush that Winters |
|
|
| and group set up on D-Day. It is just not far from St.Mere Eglise. |
| Looking the other direction at the ambush site. |
|
|
|